
Walk-In Shower Installation
Walk-in shower installation means building a new shower where there was none, or enlarging a cramped one into an open space you can move in. The pan or slope, the waterproofing and the drain location decide whether it stays dry for decades, so that is where the planning goes.
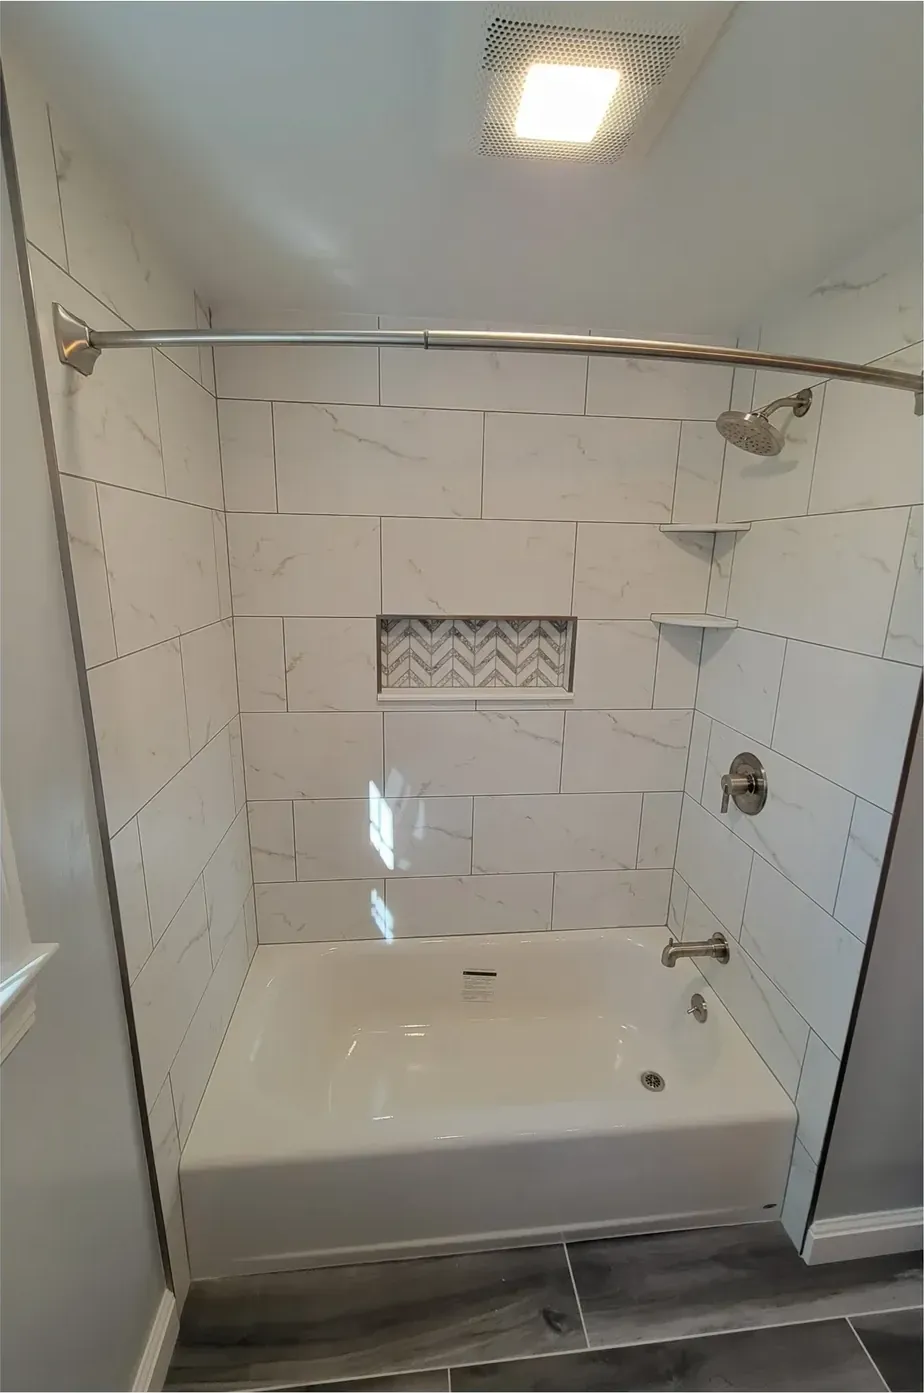
Finding room for a walk-in shower
Most walk-in shower projects start with a space question. Some homeowners want a shower in a bath that only has a tub. Others want to replace a cramped thirty-two inch stall with something they can actually turn around in, and some want a shower added to a first-floor bath so a parent can stay downstairs. Each one starts with measuring what the room can give up.
An open walk-in shower without a door needs enough length that the spray stays inside the glass, and that depends on where the head points and how far the water carries. A shower with a door can be more compact. We mark the shower outline on the floor at the walkthrough so you can stand in it and see how it sits against the vanity and the door.
If the shower takes floor from a closet or the room next door, we check that wall for load and for what runs inside it before planning goes further. If it carries a load, you know that before anything else is decided.
It also helps to think about how long you plan to stay. A walk-in shower built for the next twenty years might get blocking for grab bars in the walls now, a bench at sitting height and a low or curbless entry, even if nobody needs those today. Adding blocking while the walls are open is far easier than opening finished tile later.
Shower pans, slopes and curbs
A shower floor has to slope toward the drain everywhere, with no flat spots where water sits. There are a few ways to build it: a traditional mortar bed over a liner, a prefabricated foam tray system, or a solid base. Each has trade-offs in height, tile choice and how forgiving it is, and we pick the one that suits your floor framing and the tile you want.
A curb is the simplest way to keep water in. A low curb or a curbless entry is easier to step into and better for anyone planning to stay in the house as they age, but it changes the framing. To keep the bathroom floor level while the shower floor slopes, the shower area usually has to be recessed into the joists or the rest of the floor built up. In an older house that depends on what is under the floor, and we look before promising either.
Large tile on a shower floor generally needs a linear drain, since a big flat tile cannot follow a four-way slope to a center drain without a lot of cuts.
Where the new drain goes
A new shower almost always means a new drain, and the drain decides more of the layout than any other part. It needs a trap, a vent and a run to the existing drain line with proper slope. Over a finished ceiling or on a slab, routing it is the main planning question.
A linear drain along the back wall or at the entry lets the floor slope in one direction, which suits large tile and curbless entries. A center drain is simpler to plumb but brings a four-way slope. The licensed plumber lays out the drain with us, it is inspected at rough-in, and the shower pan is flood tested before any tile goes on it, so a leak shows itself while it is still easy to fix.
In older homes the drain you are tying into may be cast iron, and near the stack sometimes lead. Connecting to it is common work but needs the right transition fittings, and sometimes the old section is worth replacing while the floor is open anyway.
The details at the drain body and at the joint where the pan meets the walls are where the most care goes. We check those before the flood test and photograph them, so you have a record of what sits behind the tile.
Waterproofing the whole wet zone
Cement board is not waterproof. Neither is grout. A tiled shower stays dry because of the waterproof layer behind the tile, either a sheet membrane or a liquid-applied one, carried continuously from the pan up the walls and around every corner, niche, bench and valve. Failed tile showers most often trace back to a gap in that layer.
With an open walk-in shower, the wet zone reaches past the glass, especially near the entry. We carry the waterproofing out onto the floor where spray lands and slope it correctly. Built-in niches and benches get the same membrane and a slight pitch so water does not sit on them.
We also think about what happens outside the shower. An open entry means some water will reach the bathroom floor now and then, so we choose a floor tile with grip when wet, pitch the area right at the entry, and place the exhaust fan close enough to the shower to clear steam before it settles on the ceiling and mirror.
Glass, valves and the last details
A fixed glass panel, a hinged door or a sliding enclosure each need solid blocking in the wall at the right height for the hardware, which means the glass is chosen before the walls close even though it goes in last. The glass itself is measured after the tile is set, because it is cut to the finished openings.
Valve placement deserves thought too. On a walk-in shower, putting the controls near the entry lets you turn the water on without stepping into a cold spray, and a handheld on a slide bar helps with cleaning and with anyone who prefers to sit. We settle these at rough-in, standing in the framed space with you, and confirm them in writing.
Lighting inside the shower is easy to forget until the glass is up. A wet-rated recessed light over a larger walk-in makes a real difference, and it has to be placed during rough electrical. So does a heated floor, if you want the warmth to reach the shower entry.
When the shower is finished, we run the water with you, check the spray against the glass and look at the entry from outside. If water is going where it should not, we fix it before we leave, and you get the care information for the grout and glass.
See the rest of our bathrooms work, or browse the gallery for rooms we have finished.
How the job runs
Bathrooms work follows the same order every time, so you always know which part of the job you are in.
- First
We start in the room itself. Steve looks behind what he can, asks how you use the space, and says what he thinks before anyone talks numbers.
- Then
A written scope follows. It names the work line by line, so you are comparing real things and not a single number on a napkin.
- During
Changes are talked through, not slipped in. Each step gets inspected where the town requires it, and the next trade does not start until the last one is right.
- Last
We walk it together at the end. Anything that is not right gets fixed, because if it is not right Steve will not put his name on it.
Questions people ask about walk-in shower installation
How big does a walk-in shower need to be without a door?
It depends on the spray pattern, the head location and the glass, so there is no single number. We mark it out on the floor and talk through where water will land before deciding on a doorless design.
Can you build a curbless shower in my existing bathroom?
Sometimes. It usually means recessing the shower area into the floor framing, which depends on the joist size and direction and what runs below. We look at the framing first and tell you whether curbless, a low curb or a standard curb fits your house.
Is a prefabricated shower pan as good as a mortar bed?
Both work when installed correctly with a continuous waterproofing system. Foam tray systems are lighter and consistent; a mortar bed allows more custom shapes. We choose based on your framing, tile and layout.
Do you test the shower for leaks before tiling?
Yes. The pan and drain are flood tested before any tile goes on, so a problem shows up while it can still be fixed without tearing out finished work.
Can a walk-in shower be added to a first-floor half bath?
Often, if there is room to expand and a practical drain route. It may mean borrowing space from a closet or hall. We check the framing, the drain path and the size before you commit.
More bathrooms work
Tub-to-Shower Conversion
A tub-to-shower conversion takes out the tub nobody climbs into anymore and builds a real shower in the same footprint.
Custom Tile Installation
Custom tile installation means tile set to your room: the layout planned around the fixtures, the cuts placed where nobody looks, and the substrate built flat and waterproof first.
Bathroom Vanity Installation
Bathroom vanity installation replaces the cabinet, top, sink and faucet while the rest of the room stays as it is.
Bathroom Flooring
Bathroom flooring work replaces a floor that has cracked, lifted or gone soft while the walls and fixtures stay where they are.
Accessible Bathroom Remodeling
An accessible bathroom remodel fits the room to a particular person in your household: a parent moving in, a spouse coming home after surgery, or you planning to stay put.
ADA Bathroom Remodeling
ADA bathroom remodeling builds a restroom to the published ADA Standards and Massachusetts 521 CMR, where compliance is measured with a tape rather than judged by eye.
Talk it through with Steve
Monday to Friday 7 to 5, Saturday 8 to noon. Based in Raynham and working within about a hundred miles of it. See finished rooms in the gallery.